A Hobbyist’s Guide to Making Merchandise
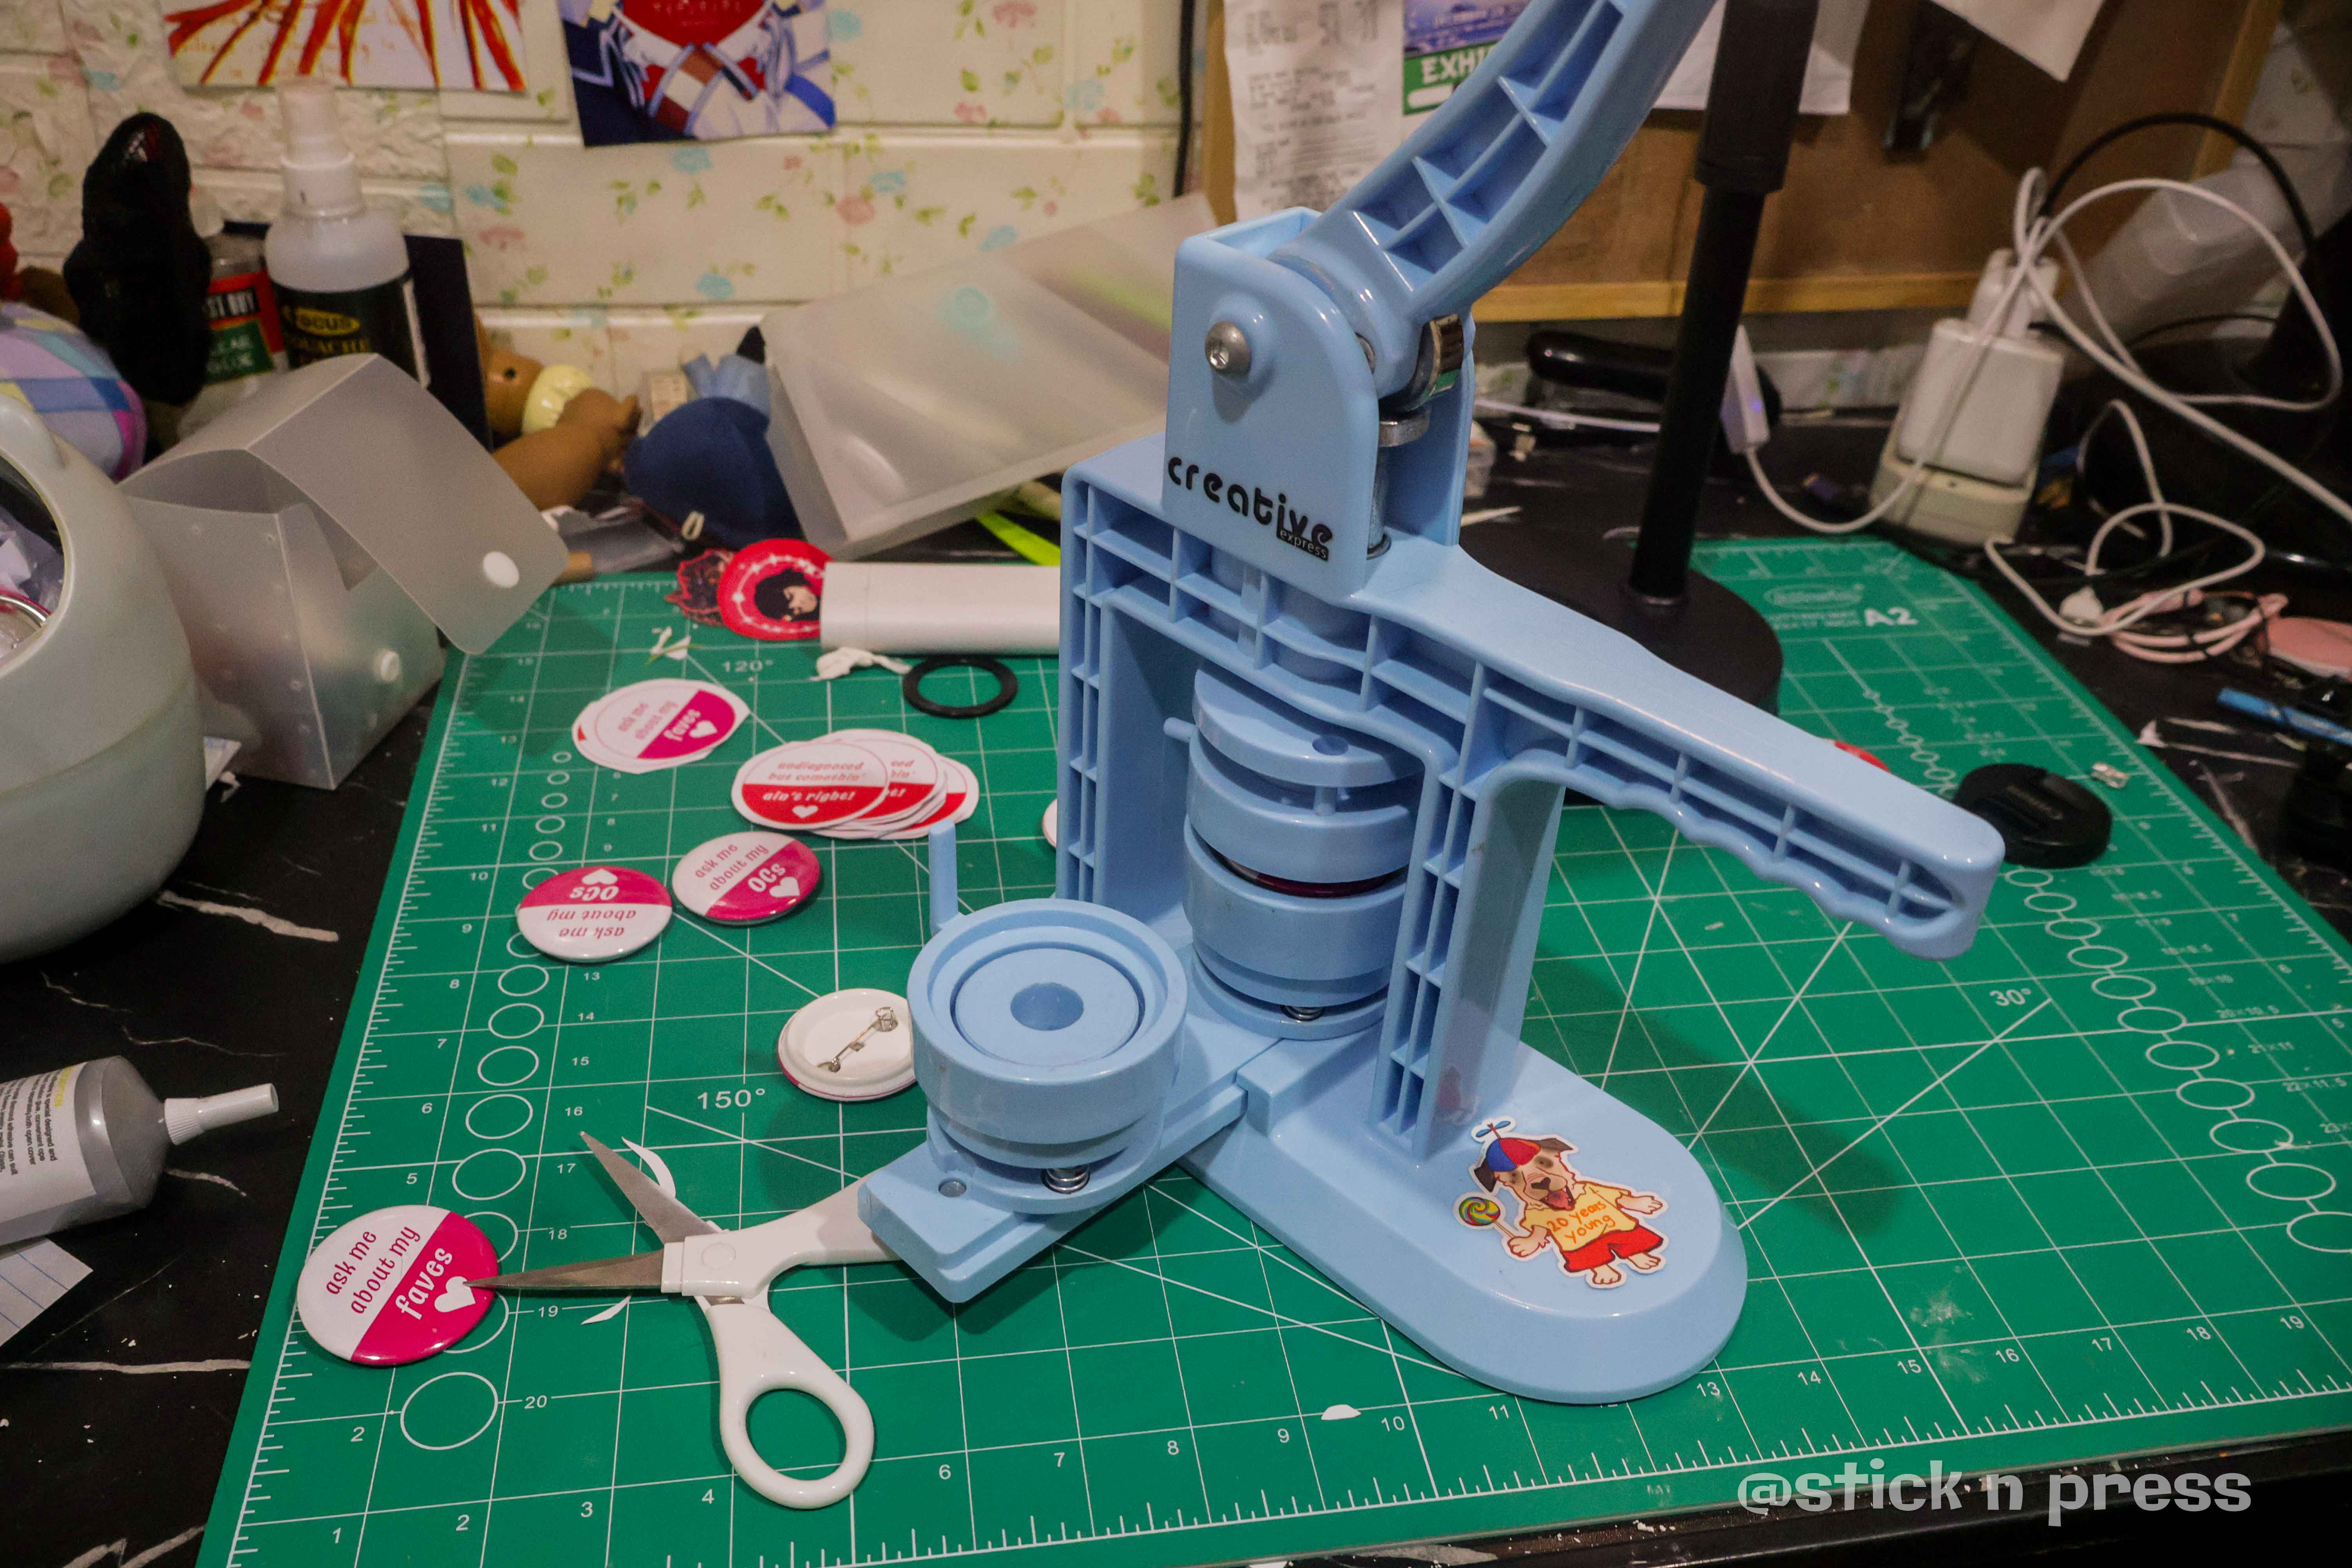
How to Make a Button Pin
Prepare your printed design, assemble the metal parts, and press everything together using a button pin machine.
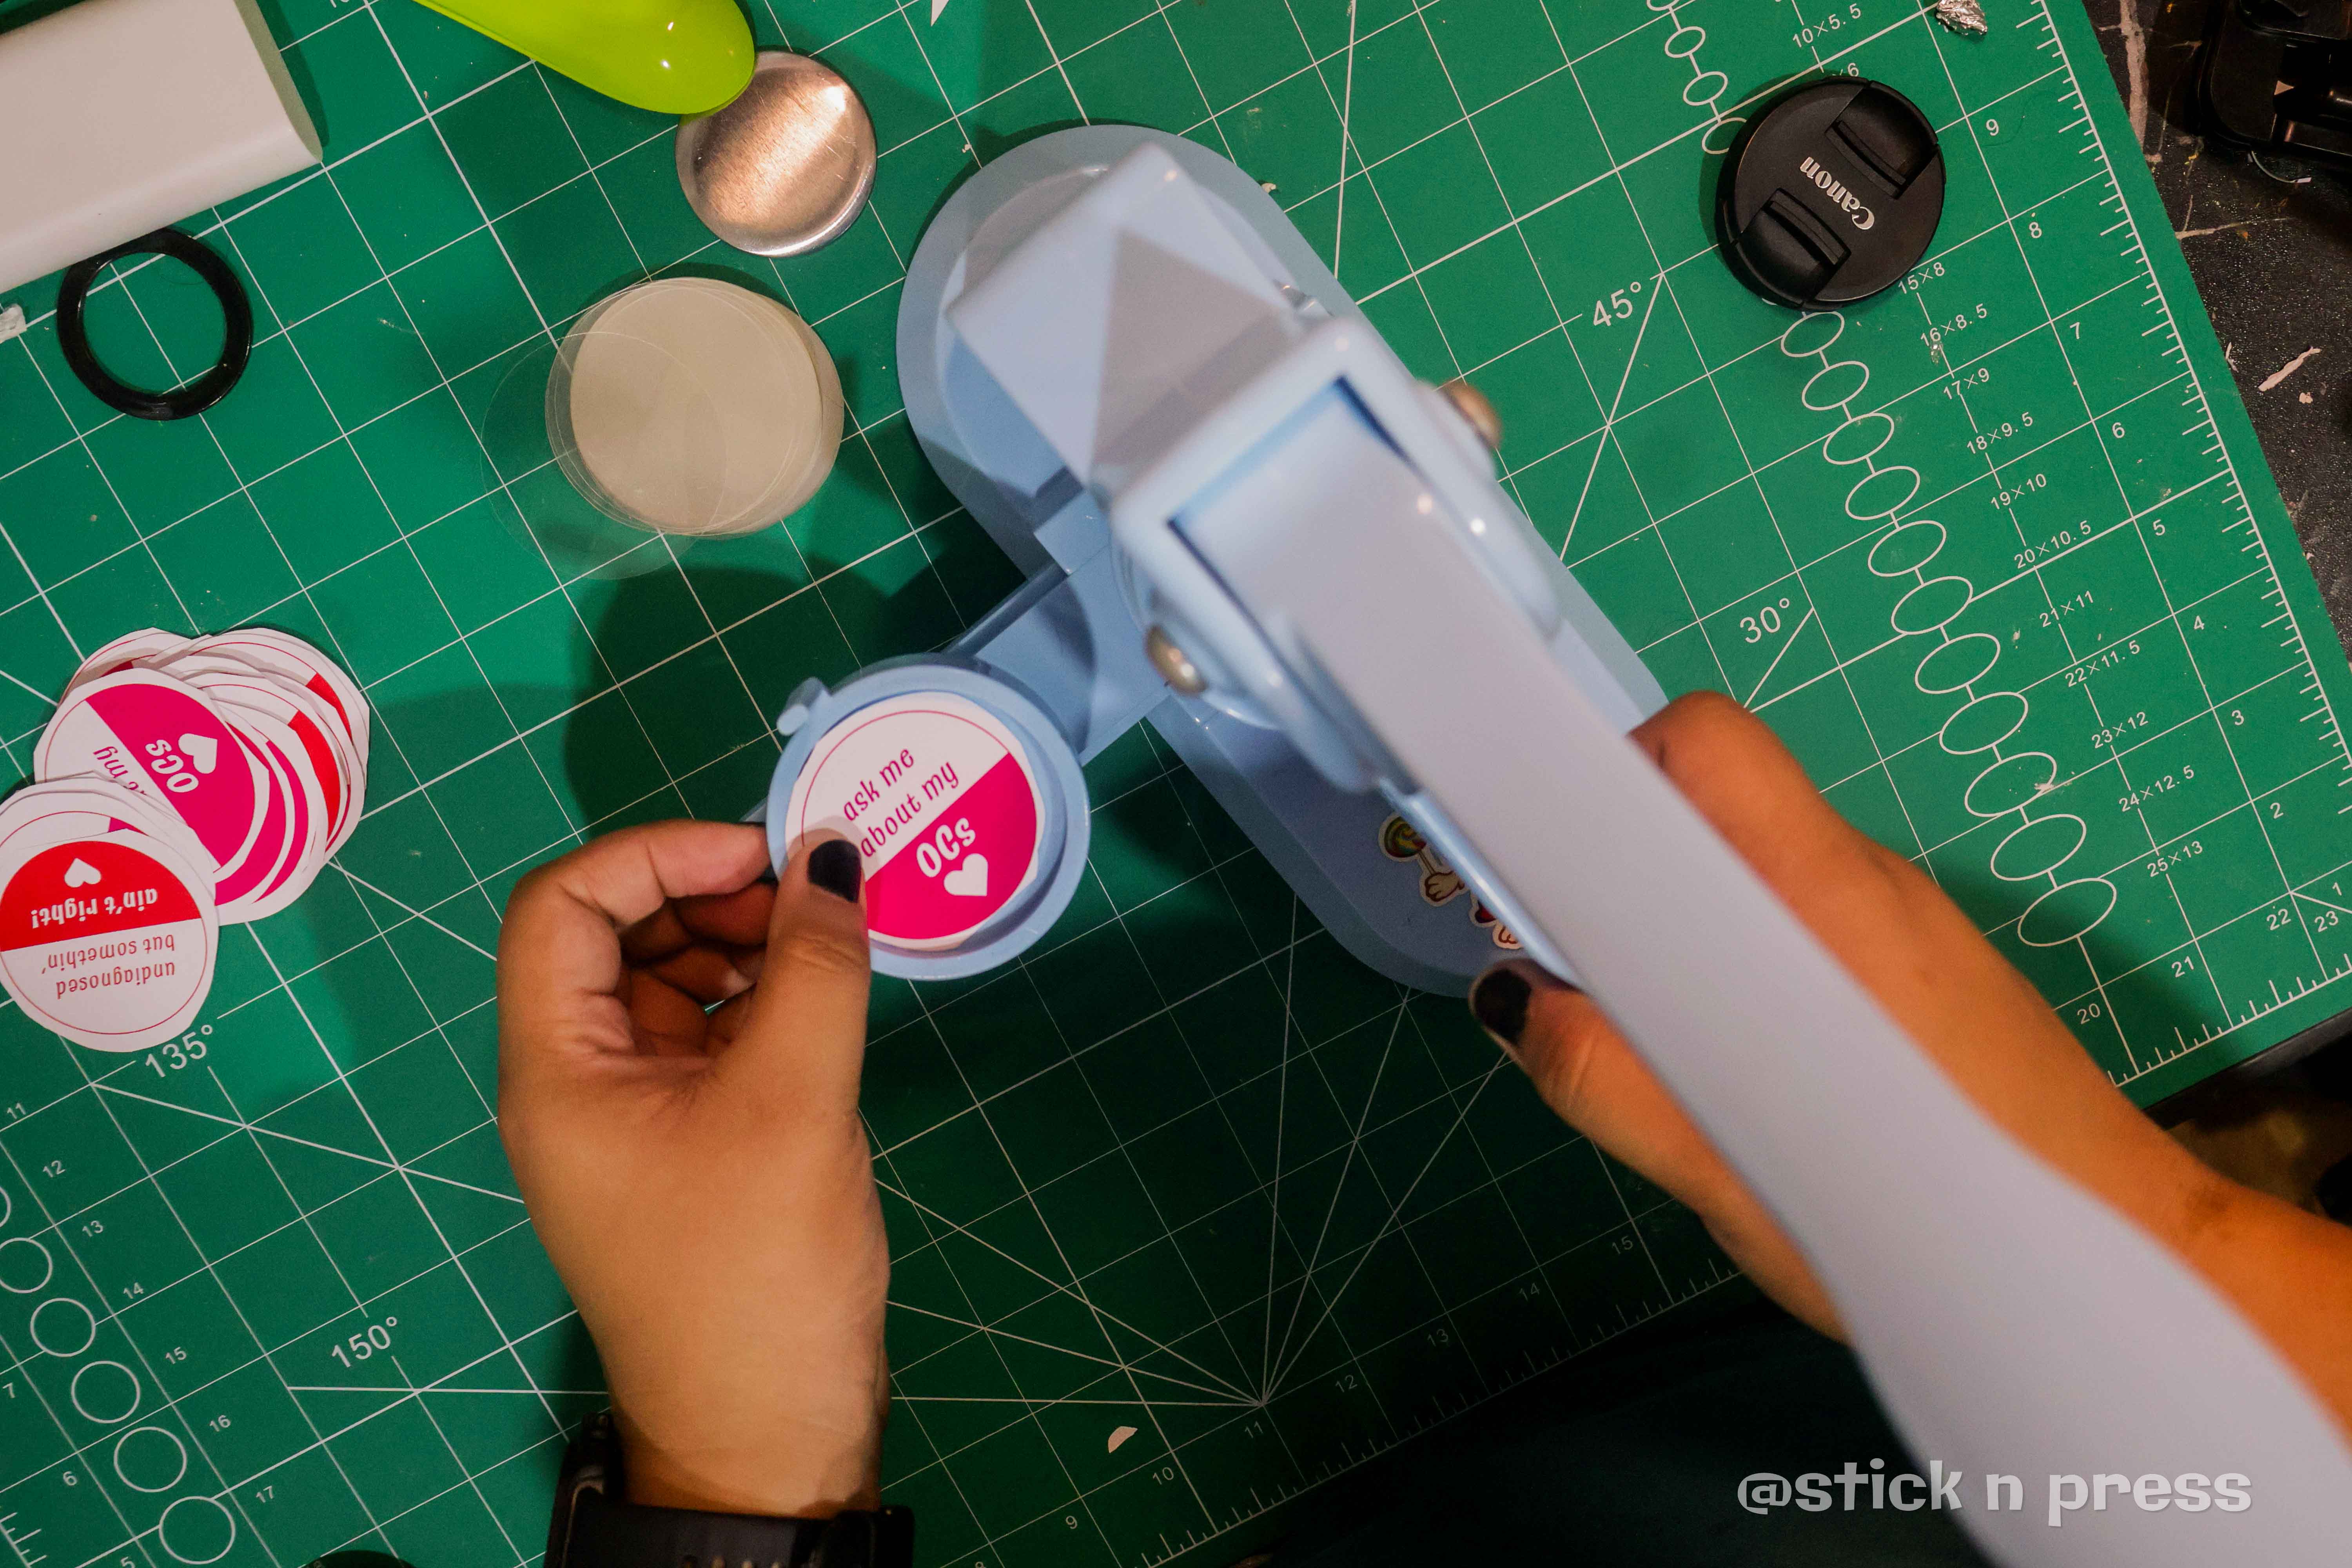
- Place your printed circular design into the front die, making sure the artwork is centered inside the shell.
- Pull the handle down firmly to crimp the metal shell and lock the printed design into place.

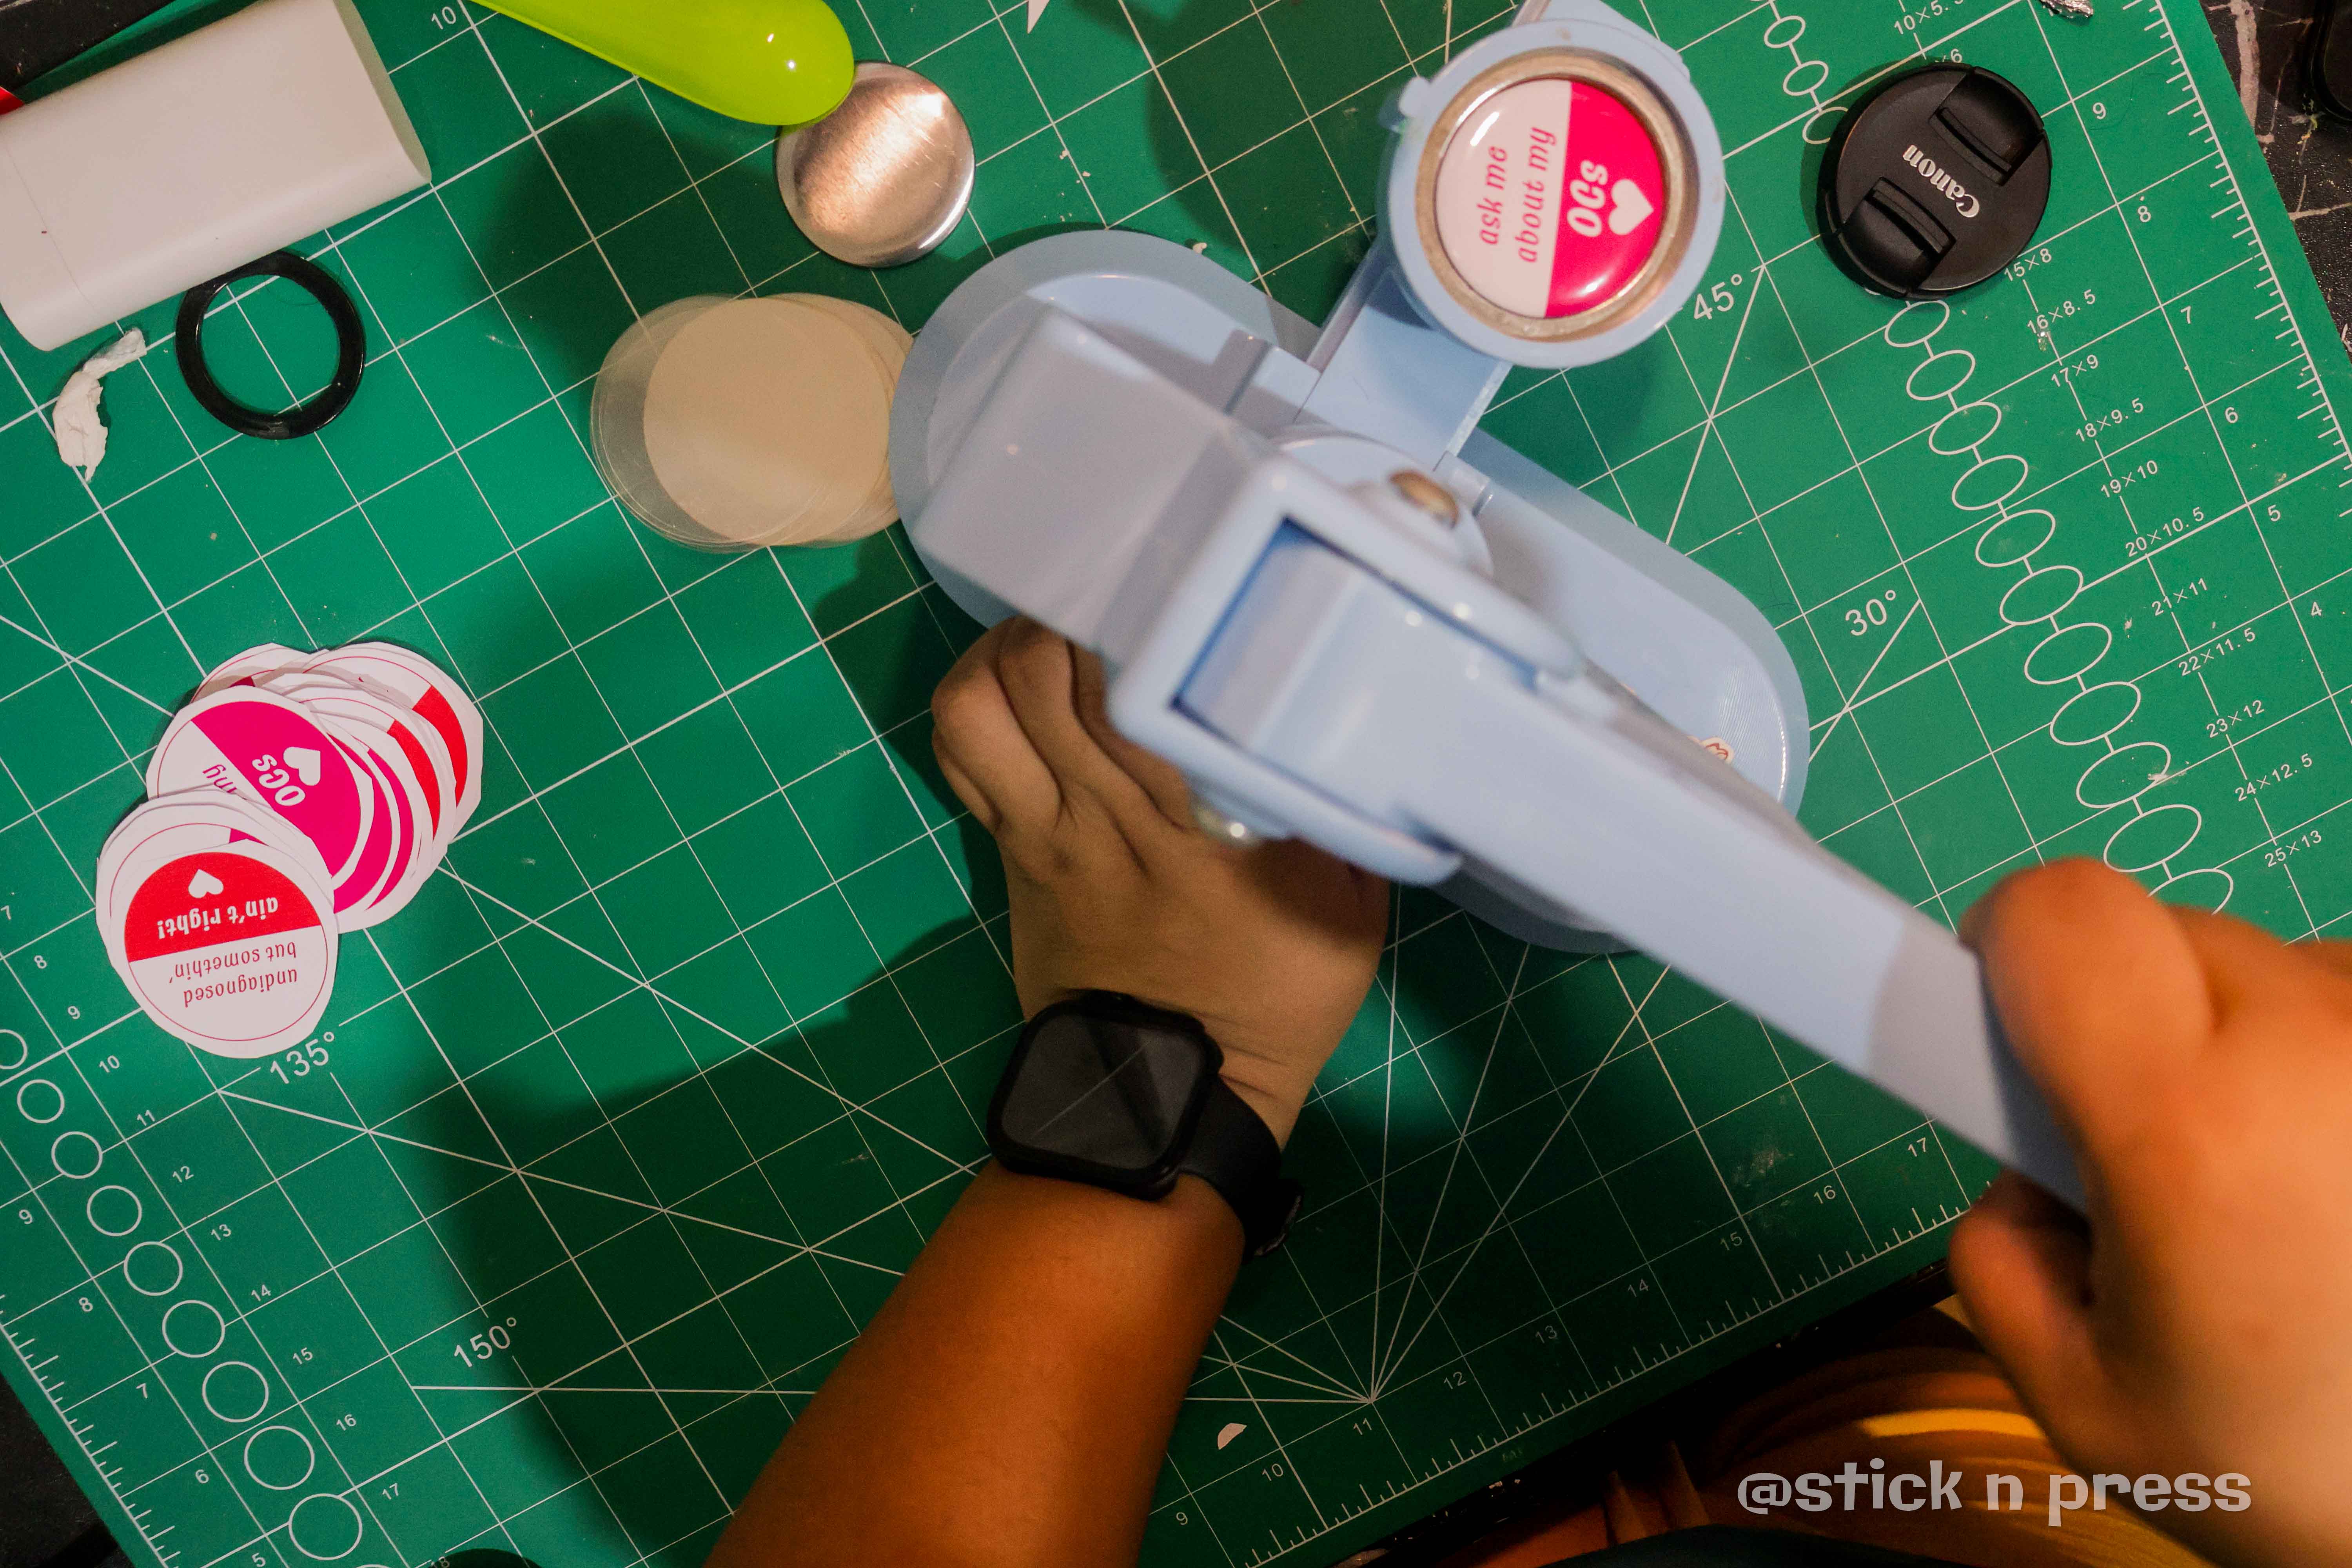
- Rotate the machine to the second die, then place the back pin piece into position with the pin hardware facing correctly.
- Press the handle again so the front and back pieces are joined into one finished button pin.
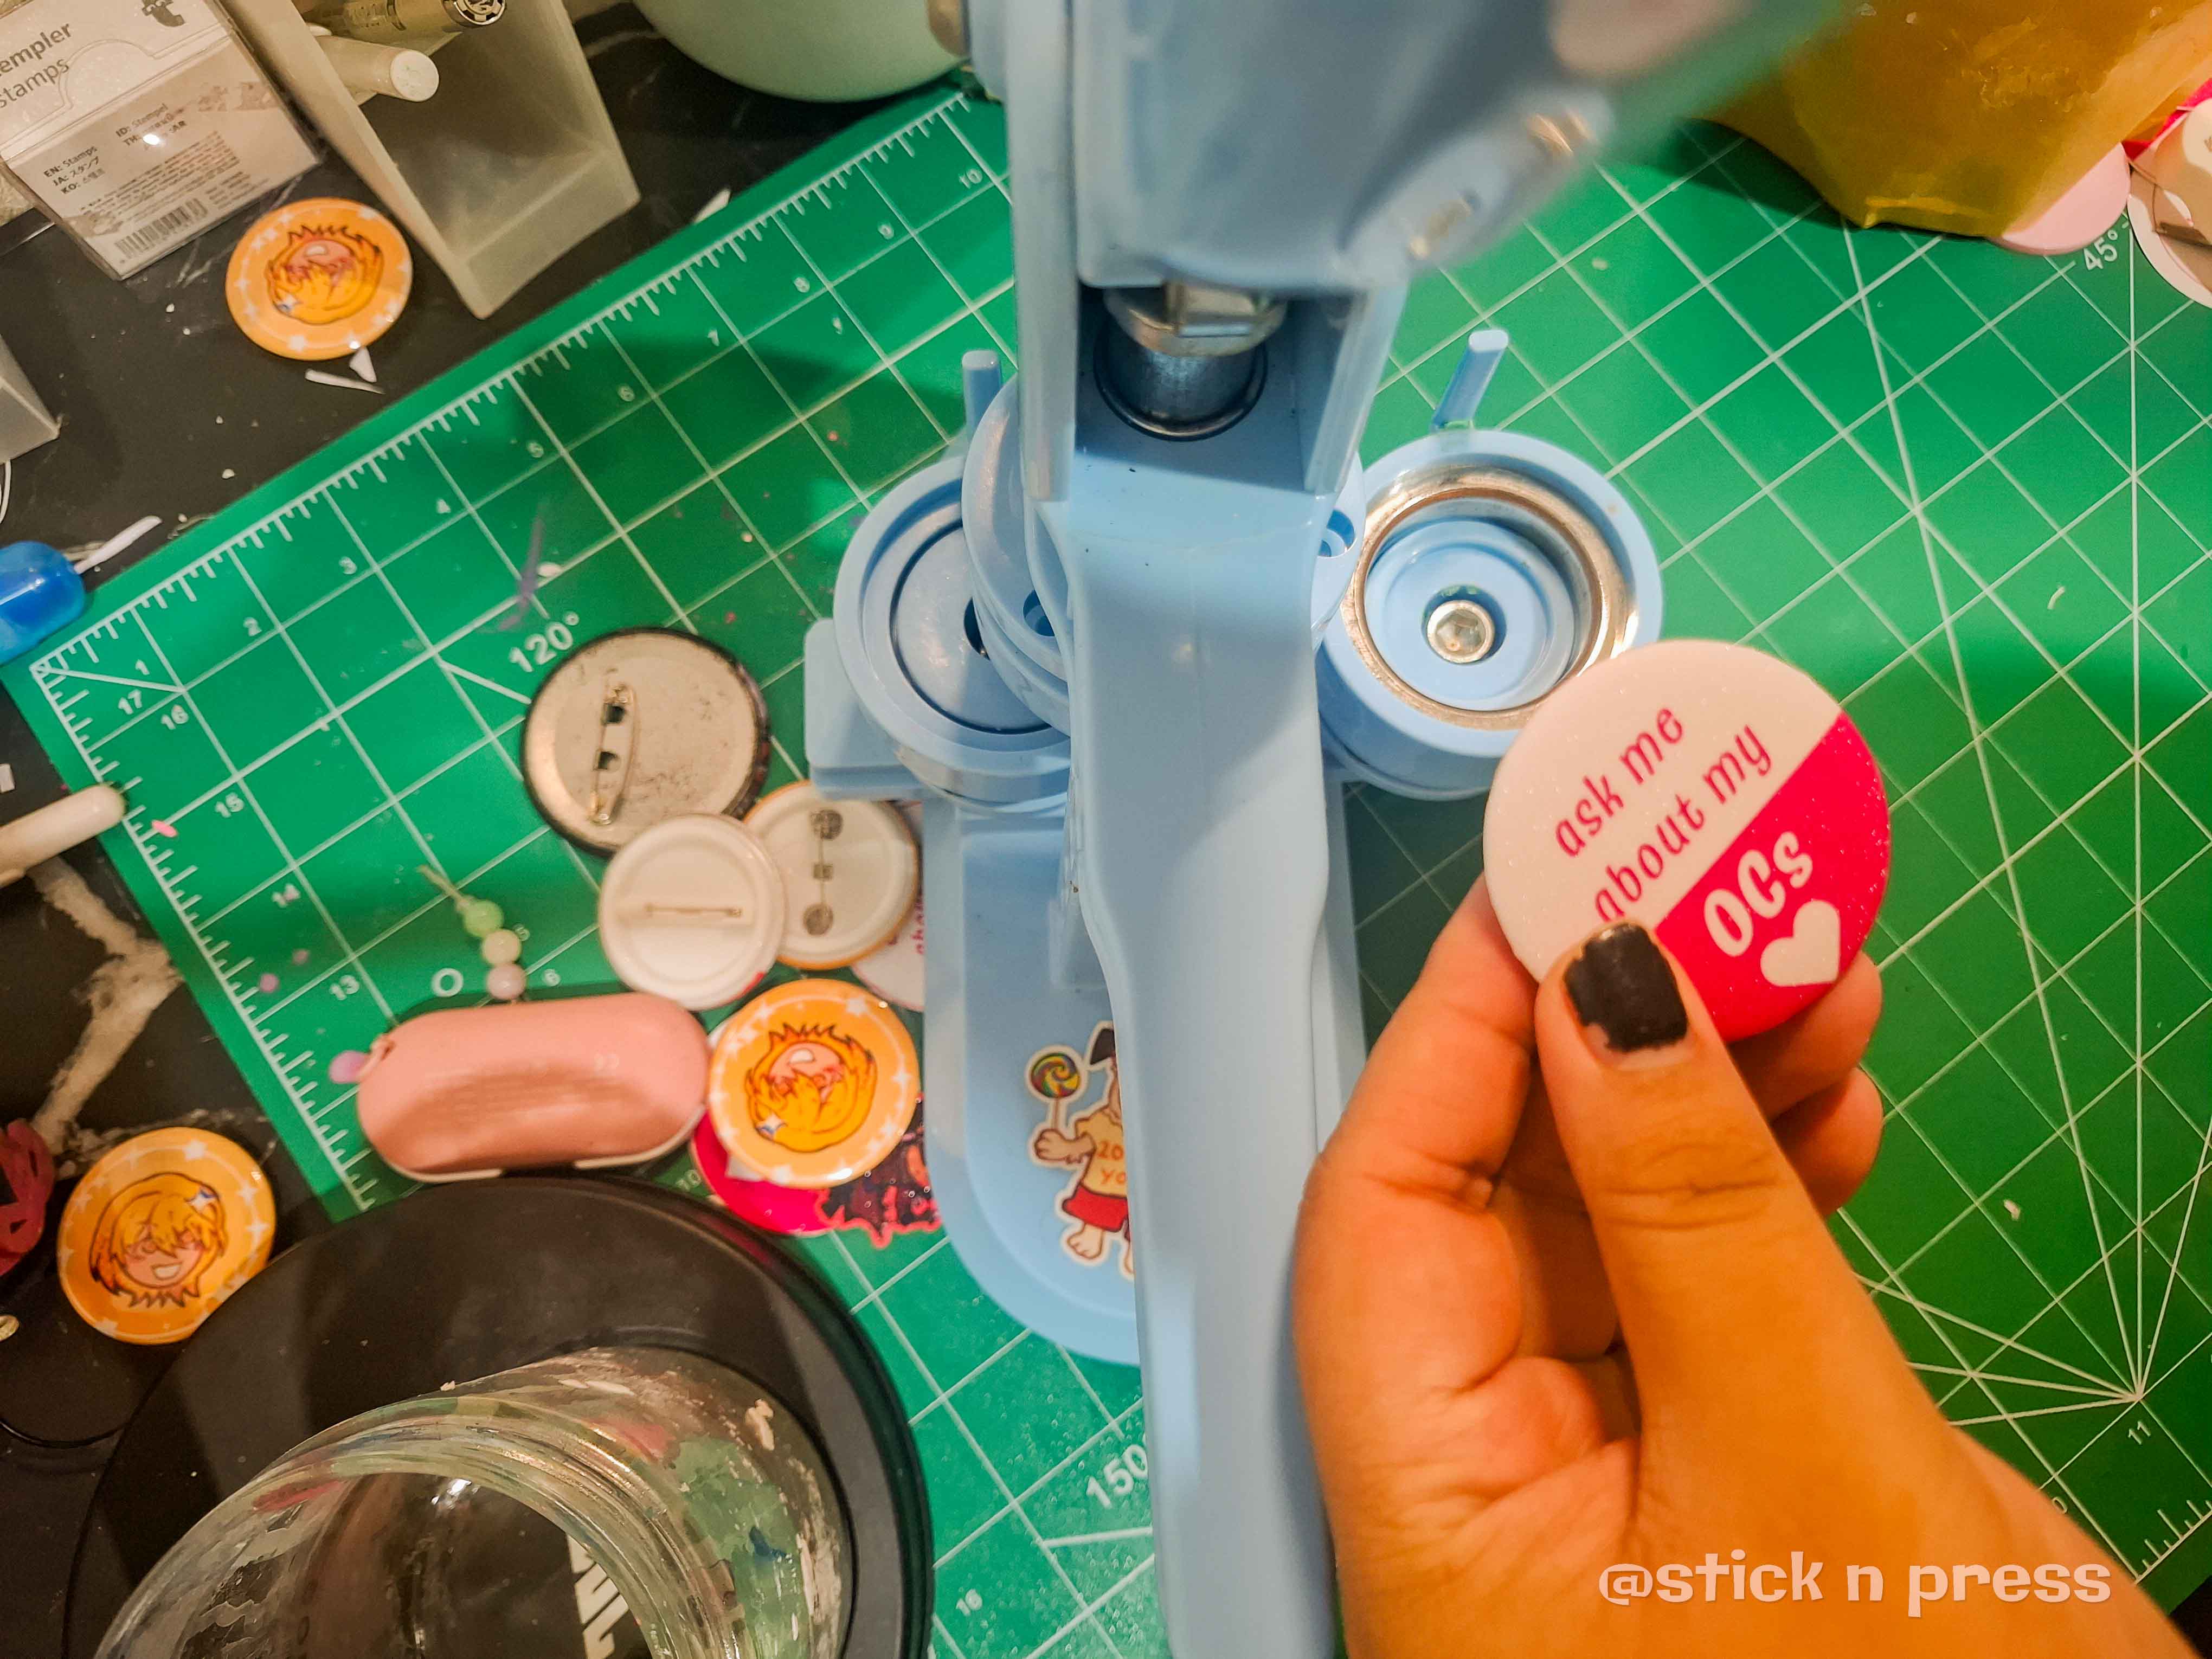
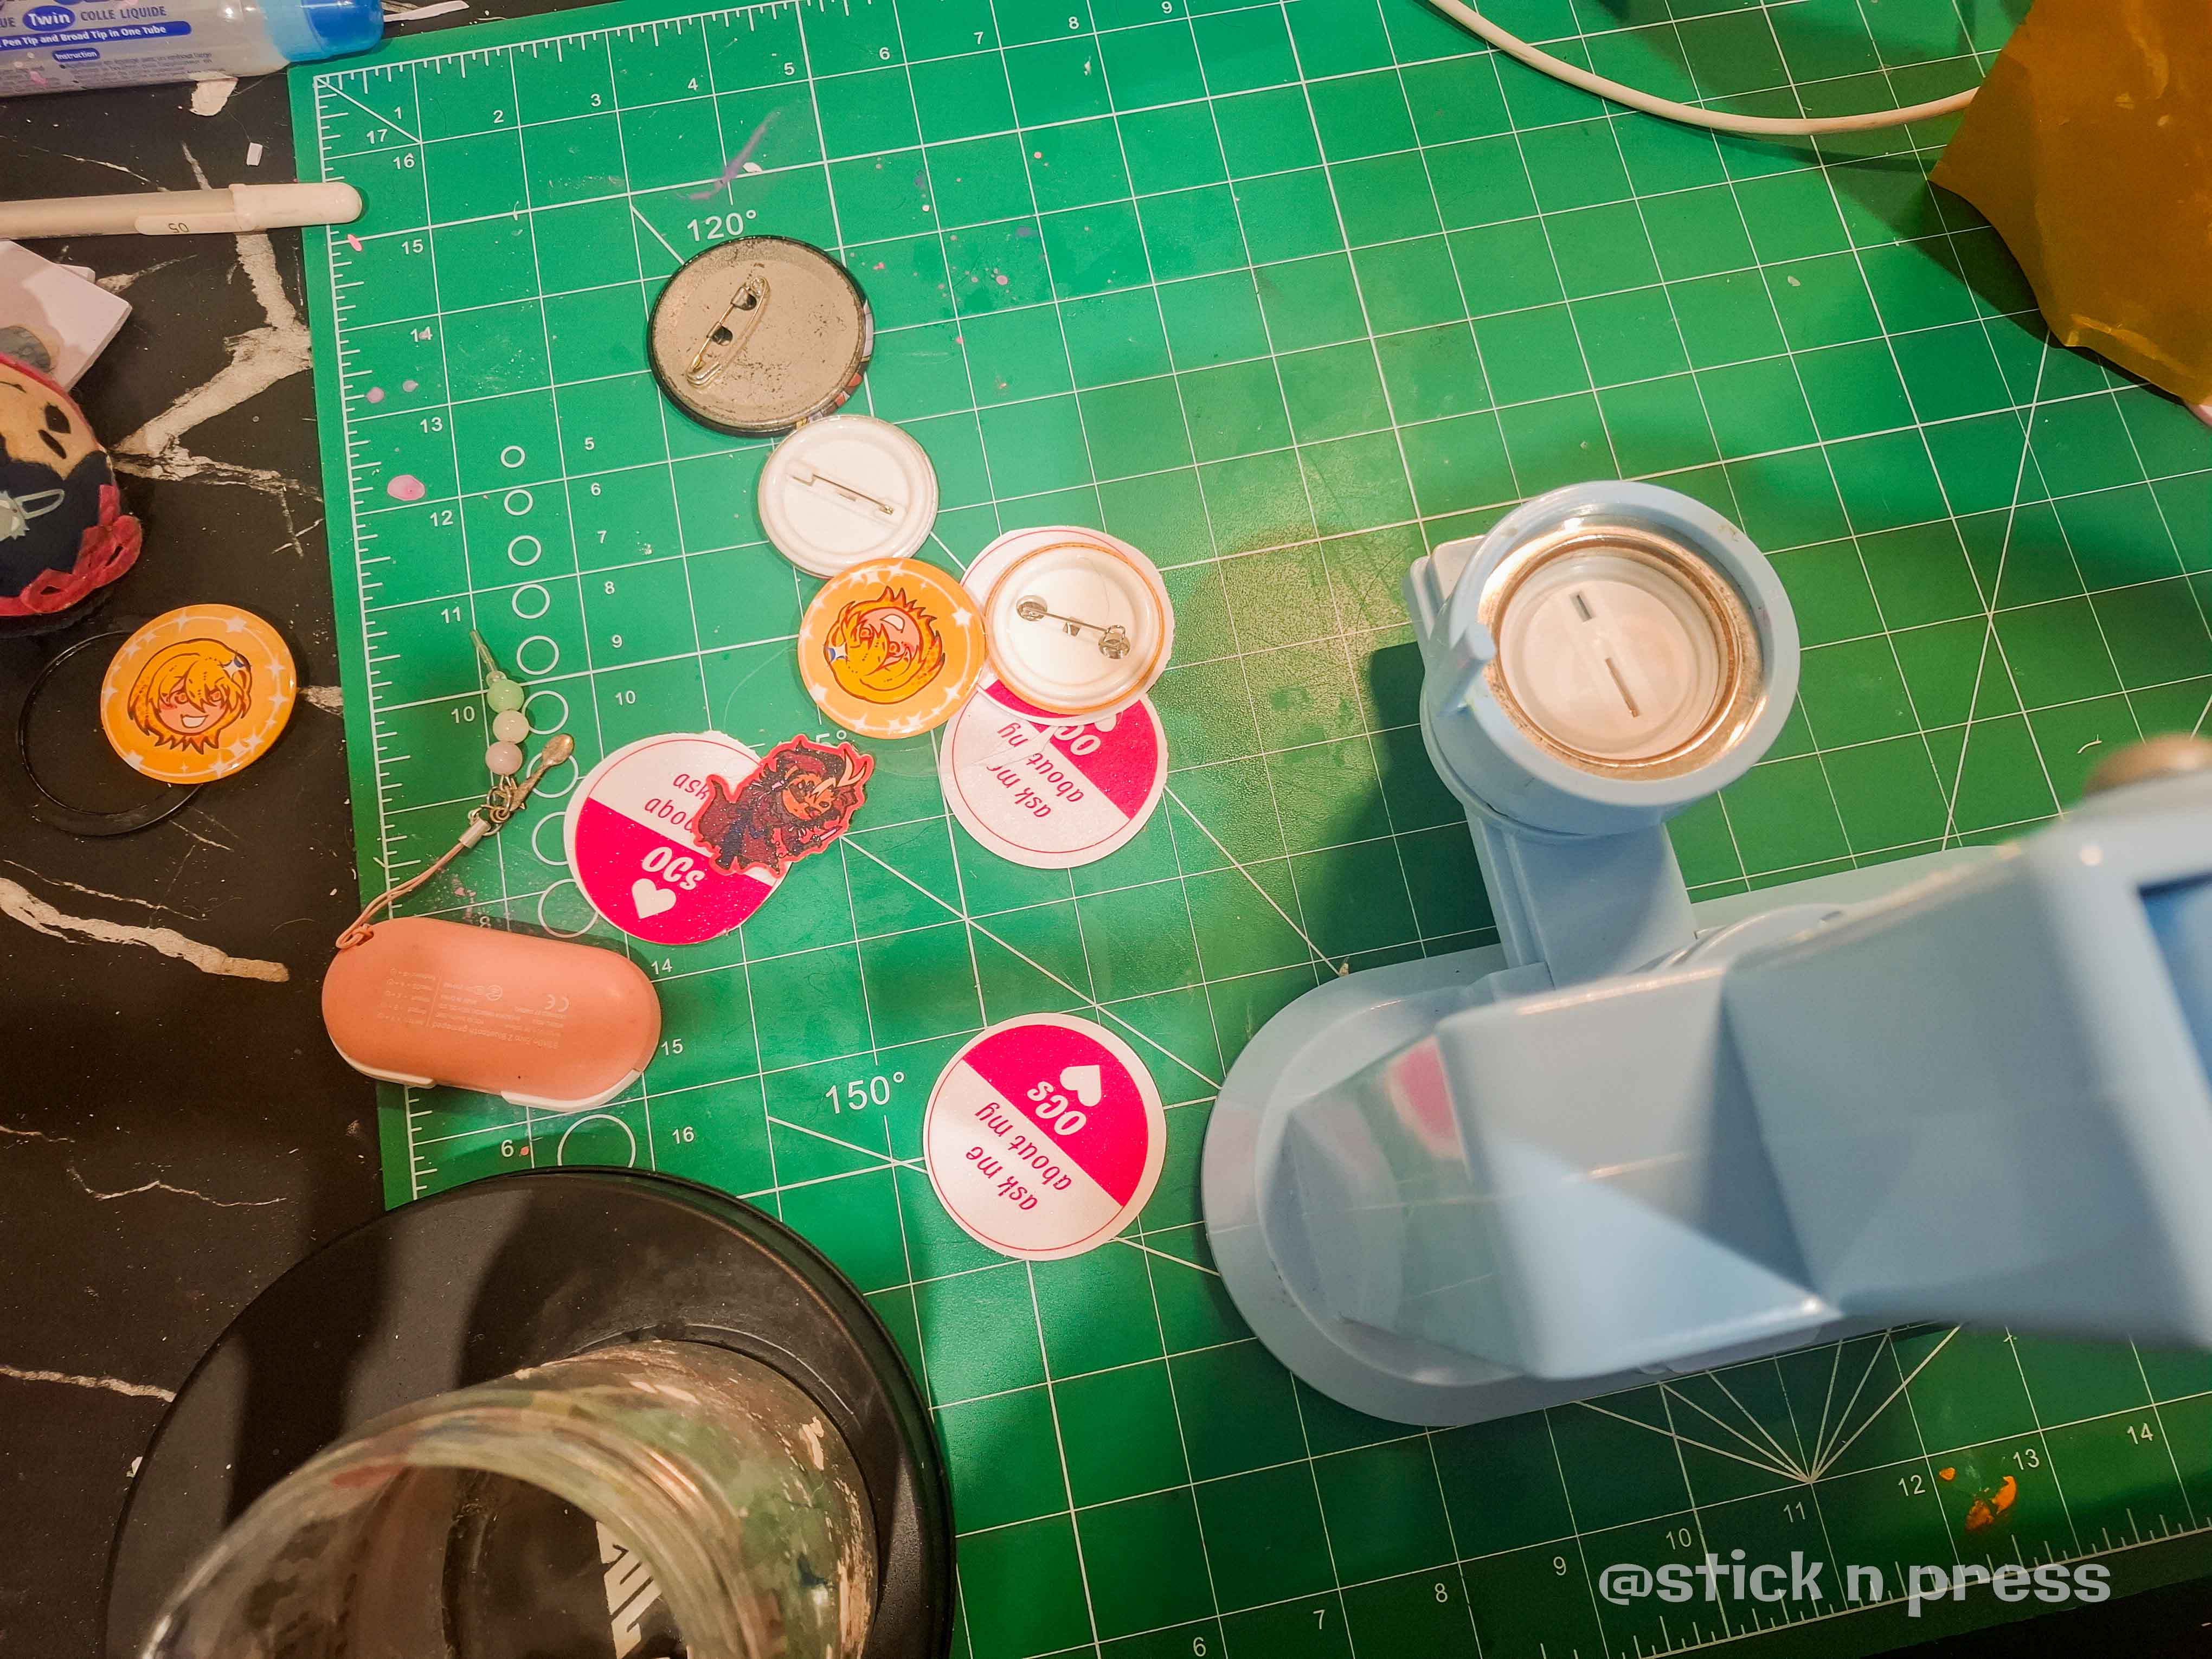
Your button pin is now ready to wear, display, or package as handmade merchandise.